Let’s Explore Them
Color Grading
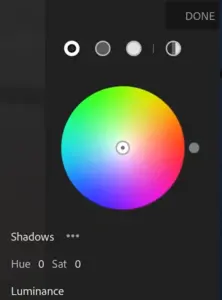
Highlights, Shadows and Midtones are available Individually which are applied on the whole image. There is no color boundary but there is a circle of all the colors you can imagine of. That gives a taste of diversity on both ends. The editor enjoys the freedom of choosing from a collection of myriads of colors whereas the other end, the image, gets diverse shades of colors.
HSL Tool
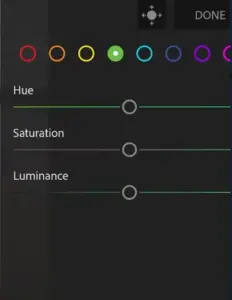
It actually stands for Hue, Saturation, Luminance. In lightroom there are 8 primary colors which you can edit in your picture. These 8 colors are adjusted by the Hue, Saturation and Luminance. If, in your picture, there is a green grass, you can specifically brighten that green grass by selecting the green color out of those 8 colors. It’s all because of AI which detects the color in the picture and just edits that specific object alluding to that selected color.
Dehaze Tool
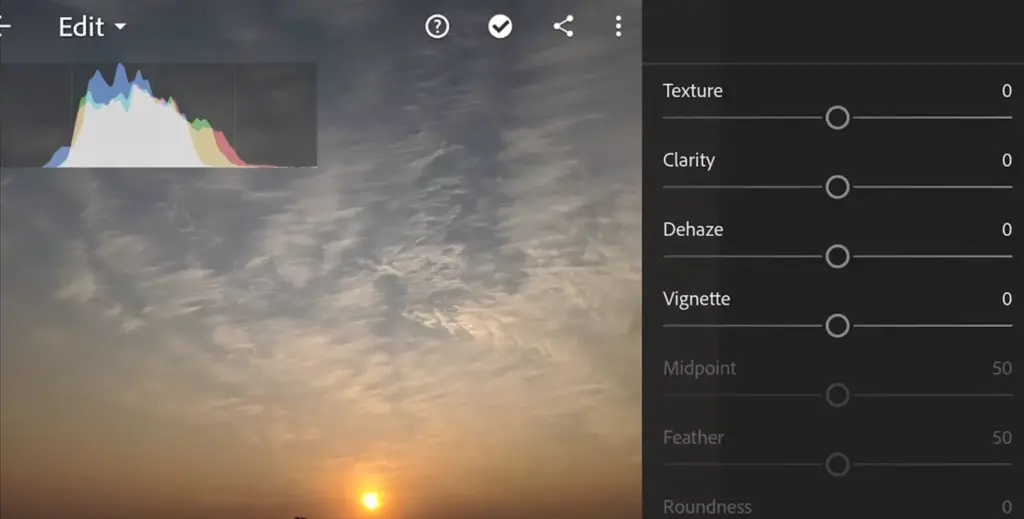
It’s the opposite of the word “haze” which means unclear or difficult to see through. Dehaze tool is embedded to make something clear. If anything in your picture is vague or unclear, you can use this tool to give your picture a clarity which makes this tool or feature unique as it boosts the colors as well. I personally like this tool too but beware not to exaggerate this tool. I know you will like it too but use it a little.
Before
After

Selective Editing
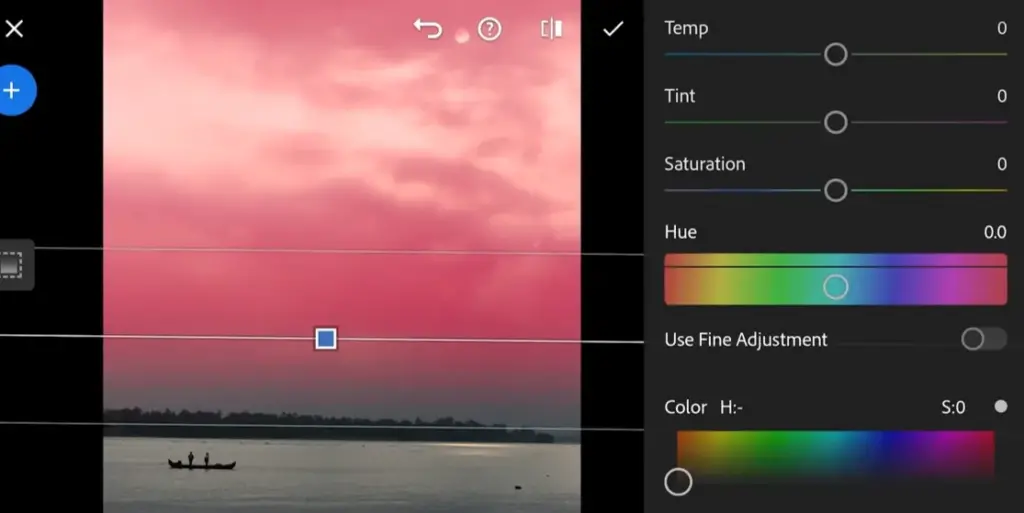
This tool is paid, but does magic to the picture and changes the outlook of the picture altogether. This can not be availed by all the people but for those who can afford, do try this feature. By using Radial feature, adjustment brush or Graduated filter you can make adjustment in your picture selectively, which comes in Snapseed with some limitations.
Before

After
Sharpening and Masking Tool
In lightroom, Sharpening is there but with the blend of Masking tool sharpens the outline of the picture or the defined area of the picture. It makes that specific or defined area of the picture more focused and blurs the other objects in the picture.
Selective Editing
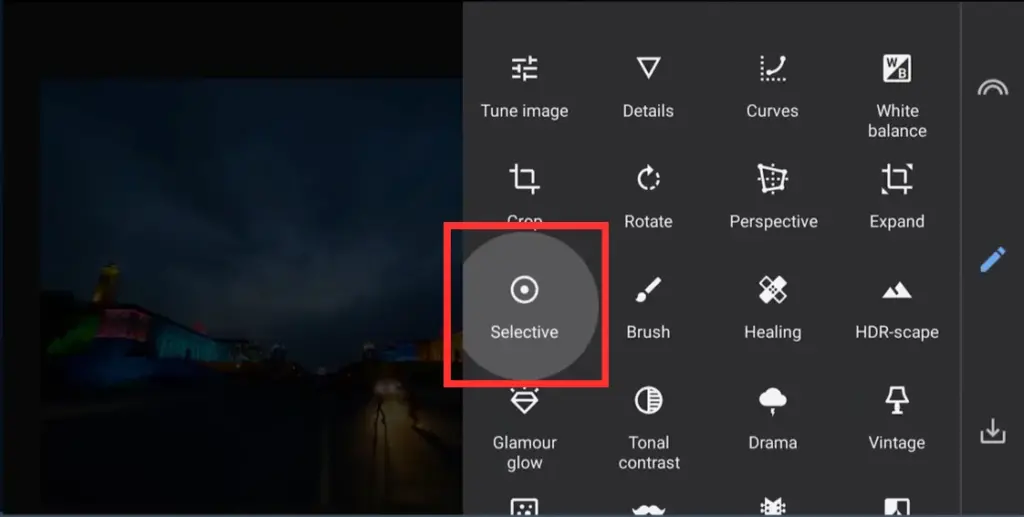
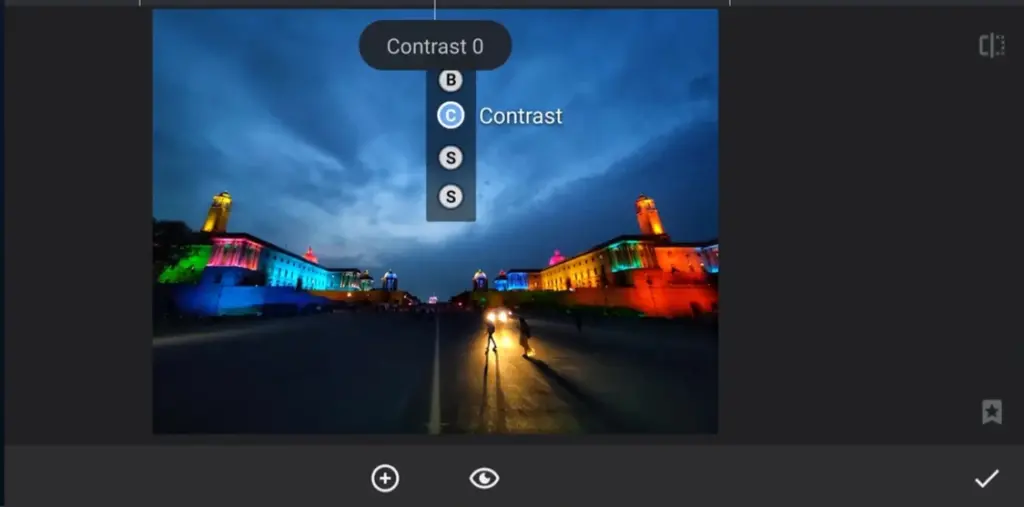
As far as Selective Editing in Snapseed is concerned, you tap in your desired area or object and then you can change the brightness, contrast, Sharpness, and Saturation of the specific area or object. Although there are limited controls in Snapseed for this feature, it’s still worth using rather than spending money for the paid (premium) version of Lightroom.
Step 1
Step 2
Expand Tool
This tool is useful for all those people who tend to add white borders around the picture to post on Instagram, Facebook or Whatsapp DP. Moreover, if you want to expand any area in the picture, you can also do that, which is done in such a fine way that makes this tool so amazing.
Text Tool
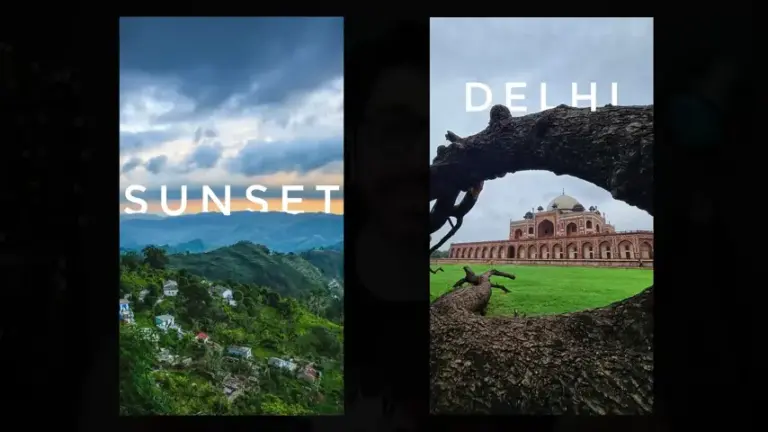
This is such an amazing tool and makes Snapseed more unique. What it does is, the text you write appears behind the image and appears in front as well.
Step 1
Portrait & Head Pose
Although all the features of Snapseed are so amazing, this feature is one I like the most. This feature actually lets you brighten or smooth your face features specifically. You can drag the focus of the brightness to your face or clarity to your eyes; Face Spotlight, Skin Smoothing, Eye Clarity are the options you see to get the most of these features.
These tools are processed with the help of AI which can not be found in Lightroom or any other app. In other editing apps, it takes a lot of hard work to make it happen, but Snapseed makes it a piece of cake.
In Head Pose, you can make adjustments to the features of your face, and you can surprisingly make changes to your smile or size of your eyes; Pupil Size, Smile, Focal Length are the options you see to get the most of these features.
The features the Snapseed is lacking in:
The features the Lightroom is lacking in:
Conclusion
Conclusively, In Lightroom vs Snapseed, both are recommended and great at their own places. As far as being better than the other app is concerned, it varies situation to situation. As earlier discussed, for quick editing and tweaking, Snapseed takes the lead whereas for professional editing as well as editing in detail to give a touch of finesse artwork, Lightroom takes the lead. So in both cases it’s a win-win situation and you can get the best of both worlds. In addition to that, you need look at Soft Proofing too to have a good experience of editing in Lightroom.
Frequently Asked Questions(FAQs)
